Let’s go through the basic installation of WooCommerce, and get ready to start your online store!
Step 1 – Installation
To install it from your dashboard navigate to WordPress Admin > Plugins > Add New, search for “woocommerce”, and click on “Install Now.” Make sure the author is Automattic. Once it is installed, click “Activate”.
Step 2 – Startup Wizard
Once you have activated the plugin you will immediately be taken to a Setup Wizard. This interface will take you through all the necessary setup procedures for your store before you can configure products.
This is the first screen: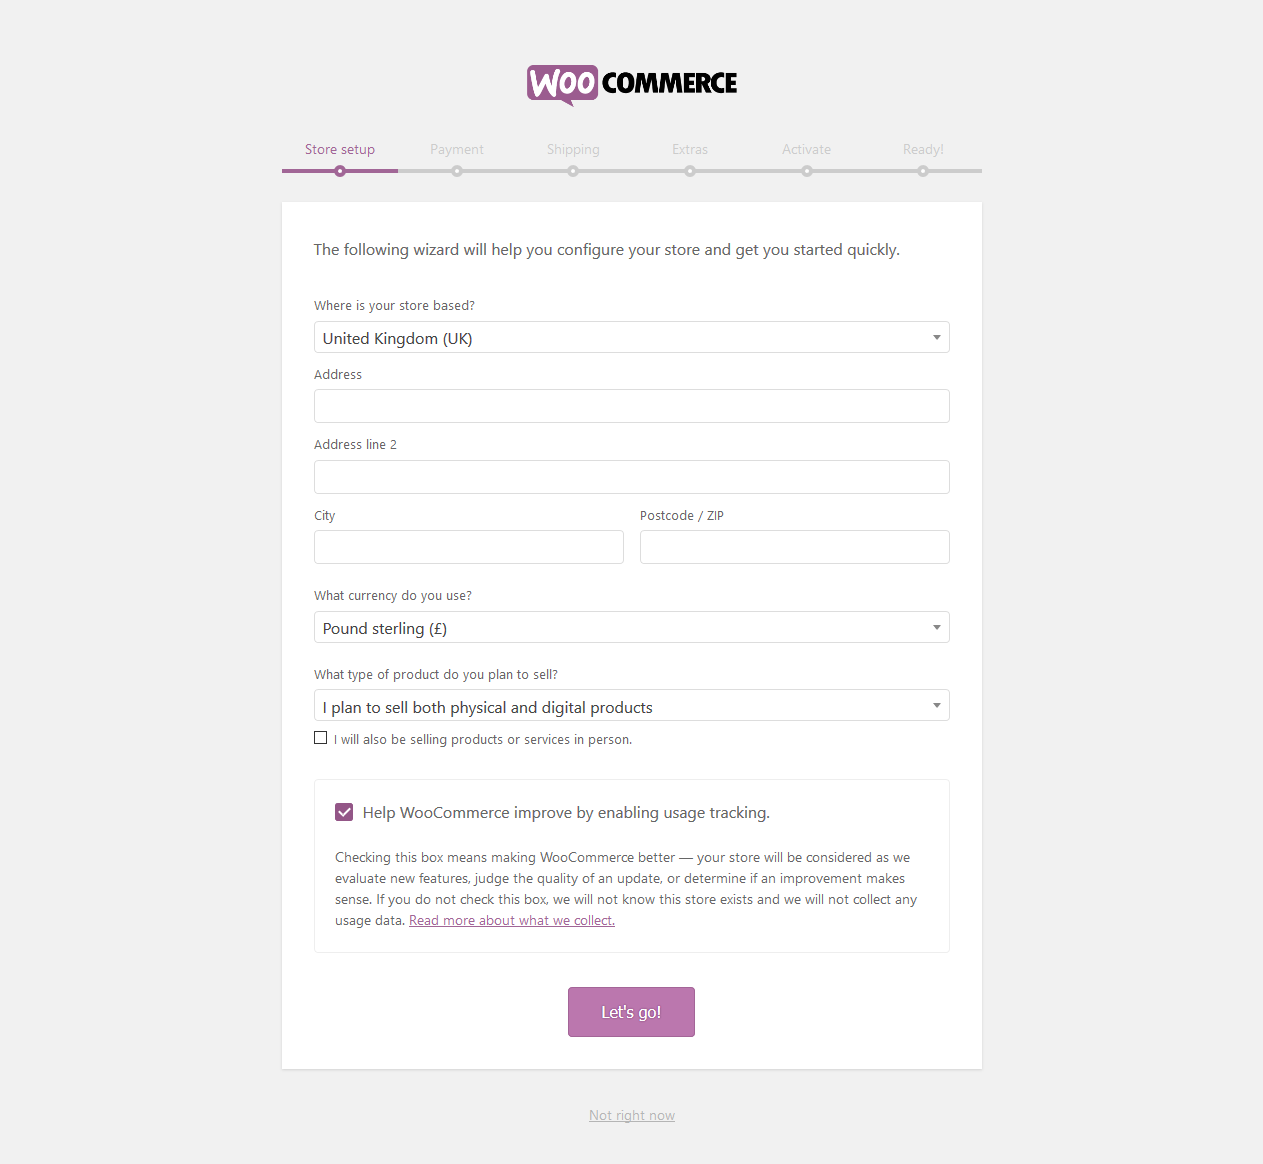
And I have filled it out with some example info:

Next we move on to payment options:

Both PayPal and Stripe come integrated by default. I would recommend looking at both and seeing their fee structure and what would benefit you the most when deciding what to actually use.
Here’s a link to compare their fees: Stripe vs PayPal. The main difference is Stripe charges you less fees in most cases, and allows you to have an integrated checkout solution on your site by default. PayPal requires you to subscribe to PayPal Payments Pro for the same features.
Either way, they’ll both be installed and usable on your site. They both allow for a solid solution right out of the gate, but plenty of other options are available for more specific use cases.
Next we need to determine our shipping methods:
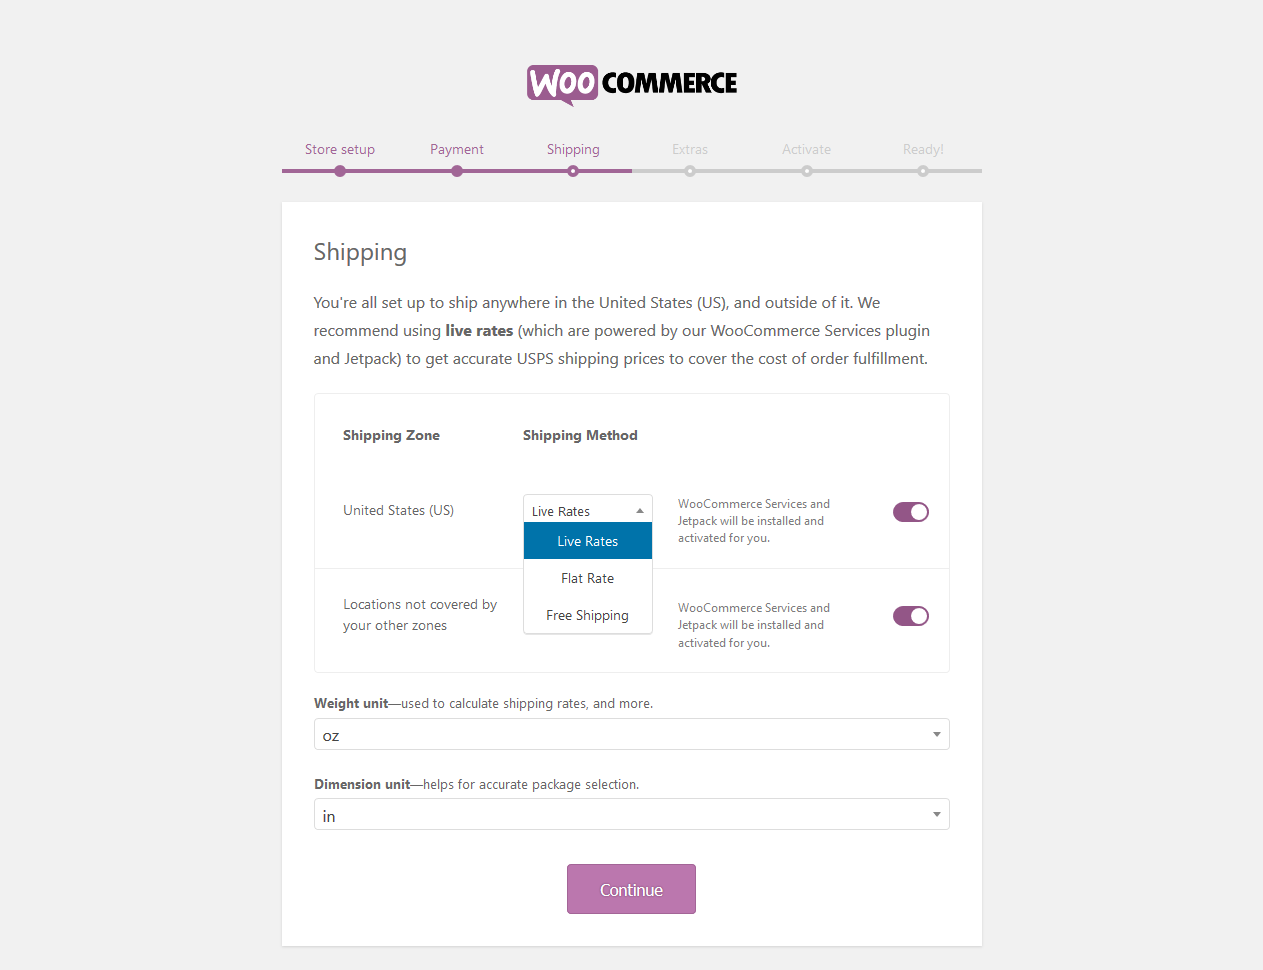
As you can see there are 3 selections: “Live Rates, Flat Rate, Free Shipping”. There’s also a toggle that tells you that WooCommerce services and Jetpack will be installed automatically. I don’t recommend installing this by default unless you know you will be shipping through USPS. You can take a look at what the plugin offers here, but for the sake of this example I am just using Free shipping. If you select flat rate(and also disable those toggles to install the extra plugins), you will be prompted to enter a default shipping rate.
Again, there are hundreds of shipping plugins out there so you will need to figure out your use case if you are going to be running a store. Do you know how much it costs you to ship every time and you are only doing sales locally? Flat rate could be the easiest option. Other than that, if you know what shipping method you use(UPS, FedEx, etc), there are likely plugins that you could download and install to pull those live rates. This is usually information you would already have before creating the store, so you know what you need.
Next you are prompted for “Extras”:
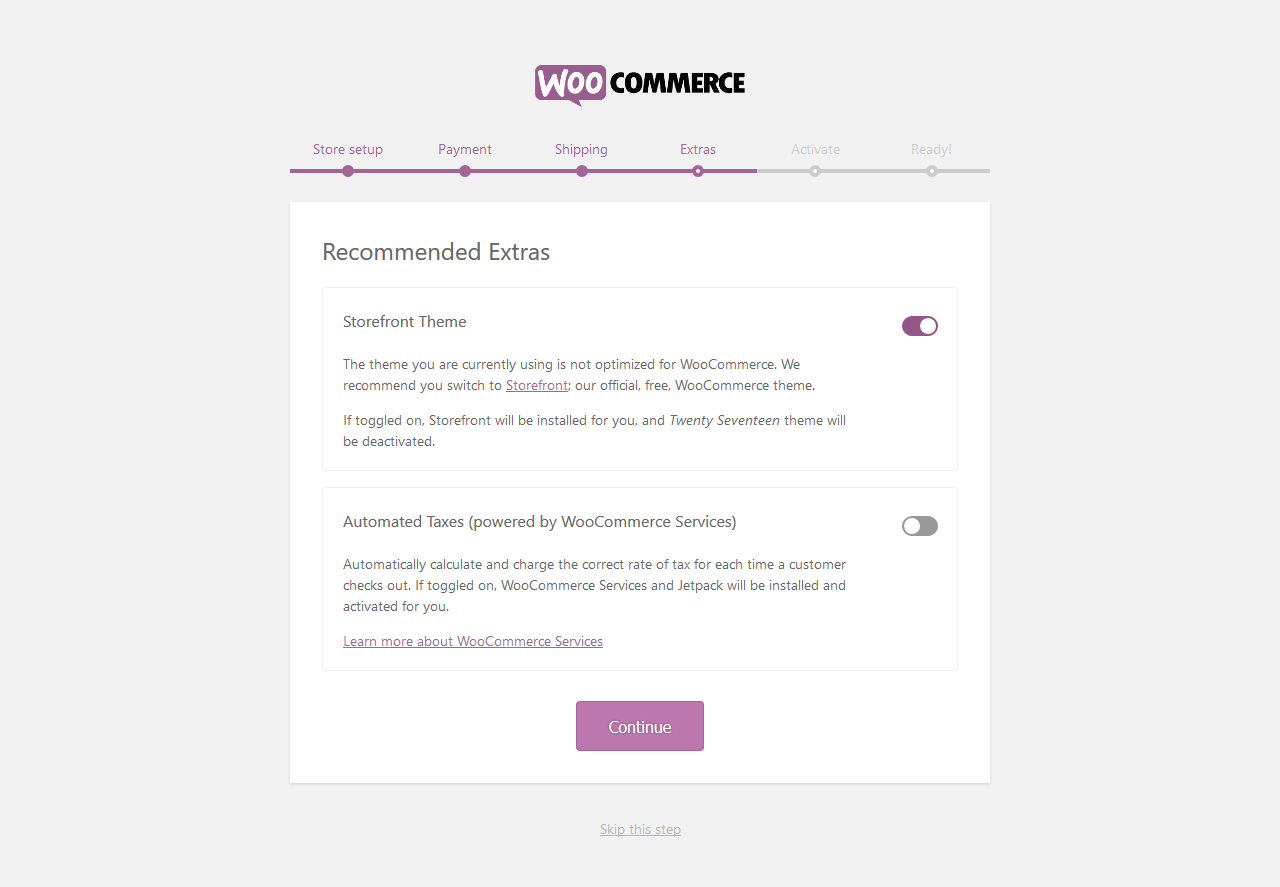
I would just make sure you opt out of both of these(only the theme is opted-in by default). Taxes is a similar thing as shipping, so you will have a setup specific to your installation.
Next you are asked to enable jetpack:
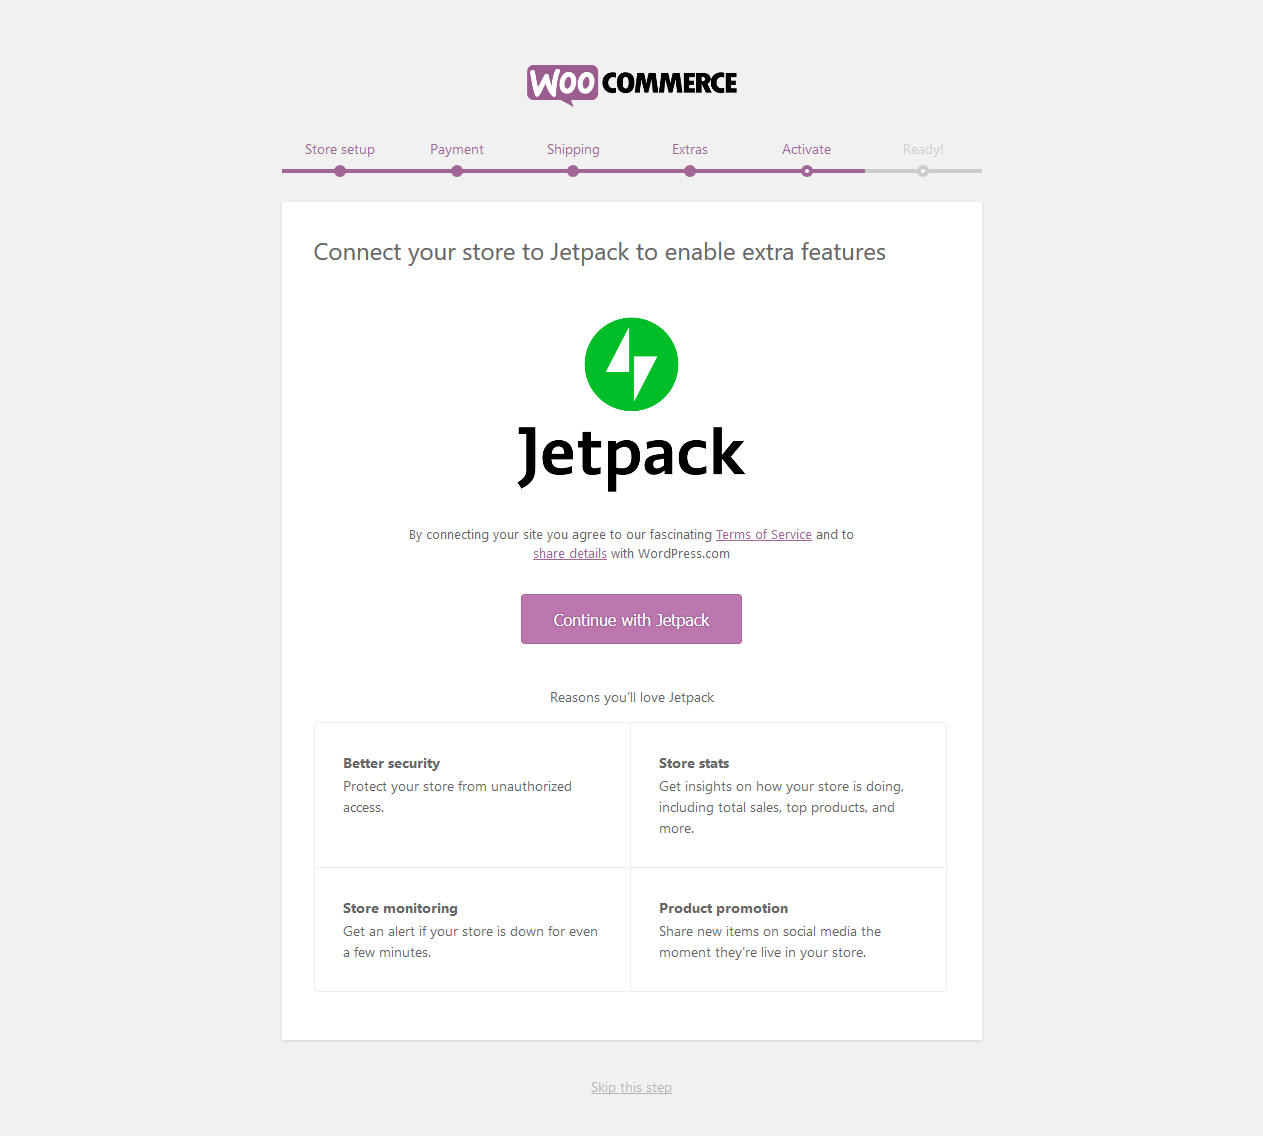
This is once again asking you to connect your store with JetPack. This is one of those use case things that was mentioned earlier, and I would recommend skipping it when installing WooCommerce. The “Skip this step” option is circled above.
Ok now we’re on the last screen!

If you want to get information about WooCommerce via email, you can add your email.
Let’s go ahead and create our first product! Click on that “Create a Product” button
Step 3 – Create a Product

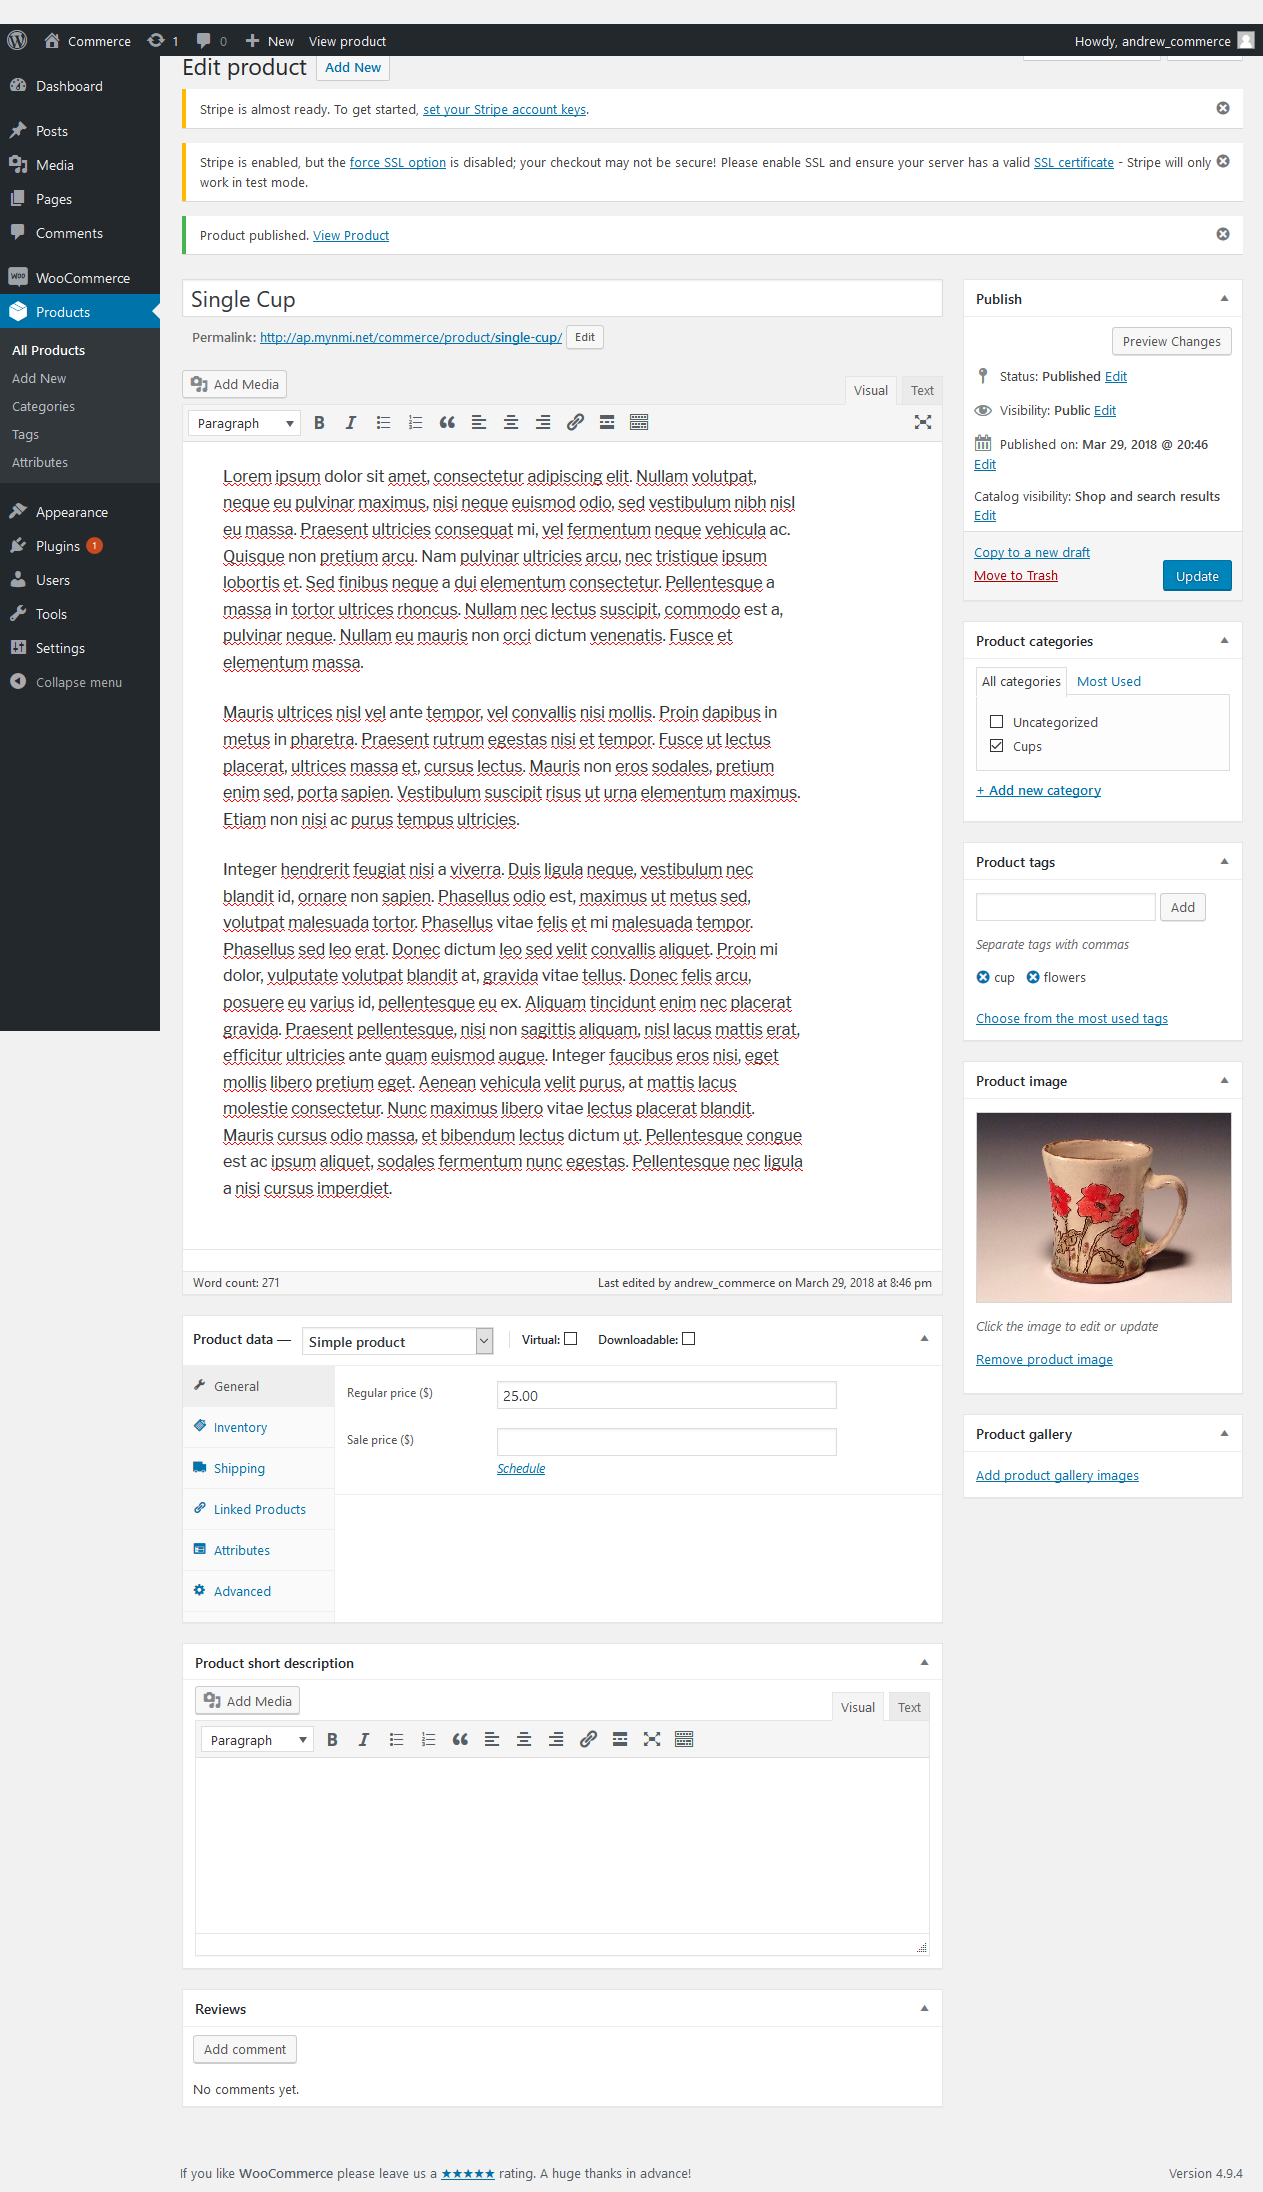
As you can see, if you ever need to add a new product, you can access the interface at Products > Add New
After you complete the setup wizard and click on the add product button, there it will give you this short, guided tour through all the fields. I recommend clicking through that whole interface and reading what each field is. This will allow you to understand what information you need when creating products.
Here is an example dummy product:
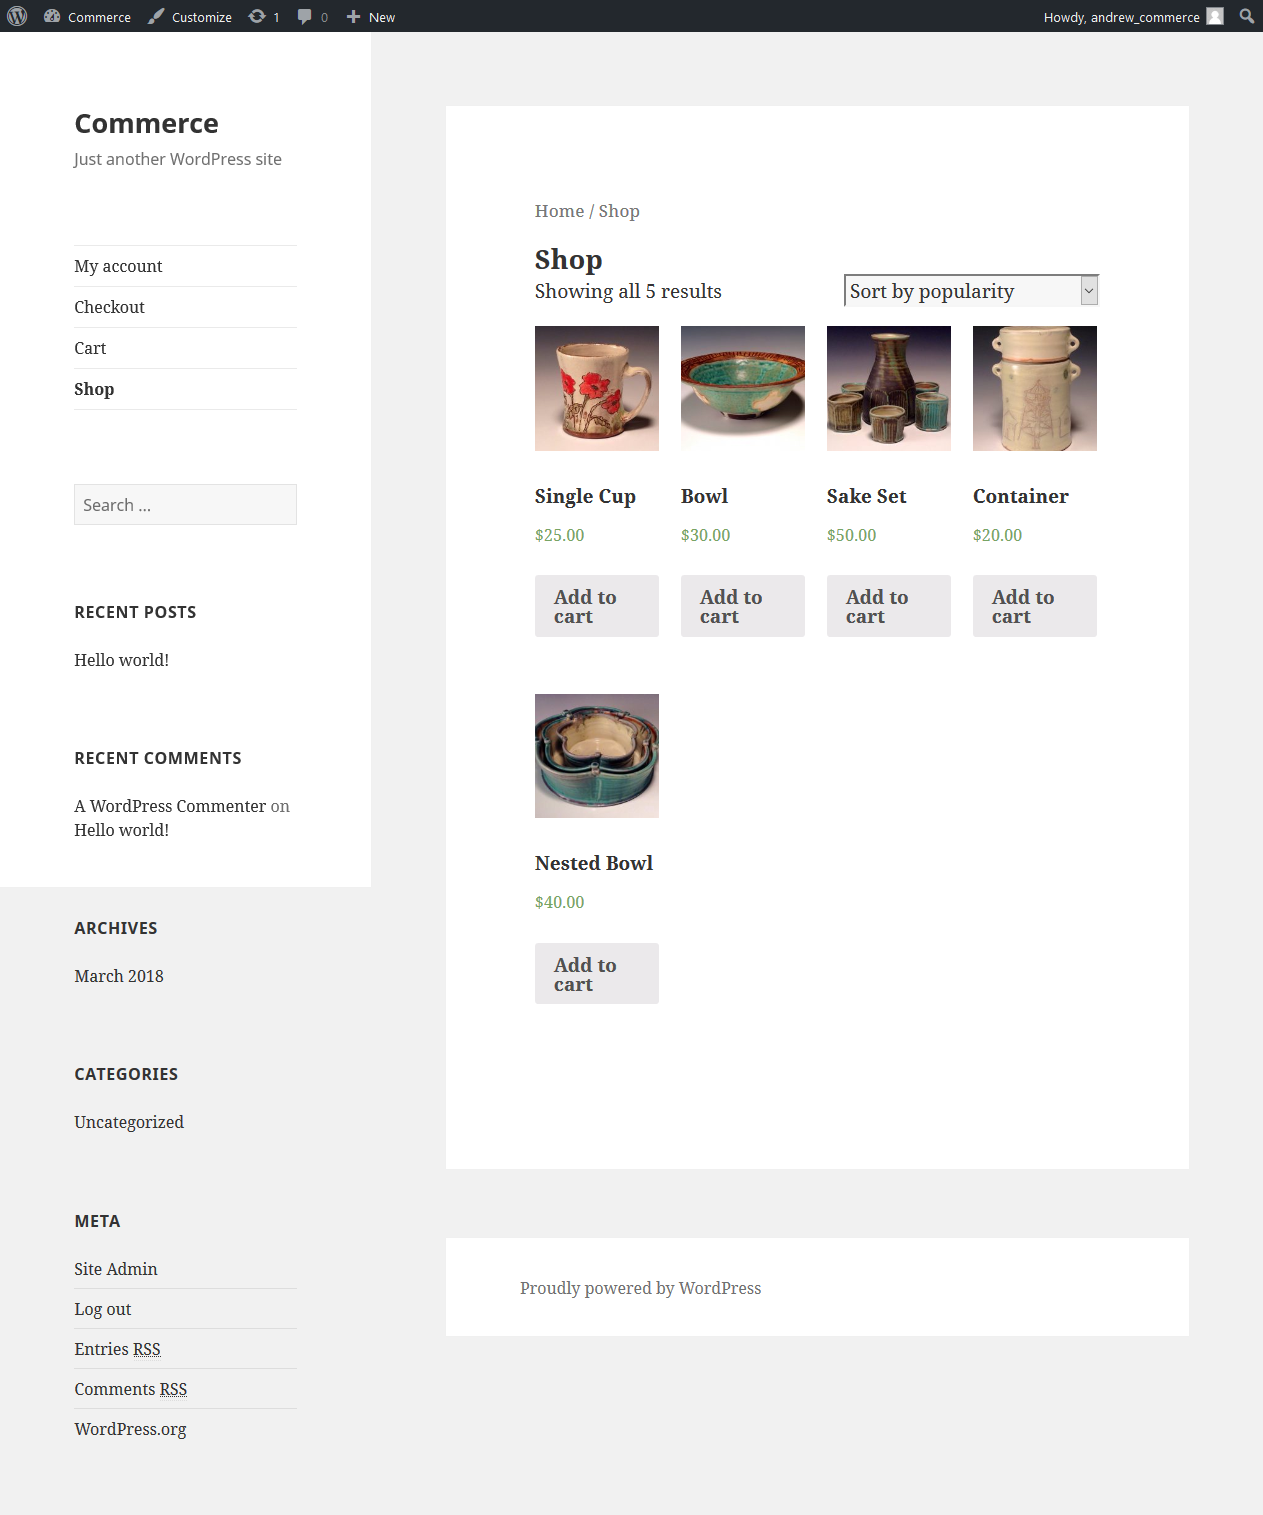
At this point, I have a basic WooCommerce store. All that’s left is to setup shipping based on my use case, and also configure a payment gateway. Once you decide what payment gateway to use, they are pretty easy to enable and manage through WooCommerce’s interface. I would recommend reading Woo’s documentation if you want more information about how to enable that.
Here’s my example store: https://apweb.quest/commerce/shop/

At this point, all you have left to do is customize it to how you want it! The possibilities are endless!
You now know how to create an online store!